
How to create a video DVD in Windows Movie Maker
Sadly Windows XP and Vista do not come with standard video DVD burning software built in, although you can prepare your movie files and slideshows for burning with Windows Movie Maker. Windows 7 comes bundled with Windows Media Center, which is fully equipped for burning video DVDs and is available as a download for certain versions of XP and Vista. Where it is possible to create data DVDs in Windows for storing data, video DVDs, that can be played in DVD players, are somewhat more tricky to create.

If your computer has a DVD r/rw drive then you are likely to have some DVD authoring installed, for example Roxio.
Preparing a video DVD in Windows Movie Maker
Windows Movie Maker is a great program for performing simple editing to video files, joining video files together and adding sound files to video files.
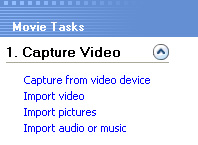
1. To prepare your video files for DVD burning import your files by selecting Import video from the sidebar window.
2. You can drag your movie files onto the timeline below to perform editing functions and effects including fade-ins and fade-outs.
3. Note that however your film is shown when played back (spacebar to play) in the timeline, will be the file you create for DVD burning.
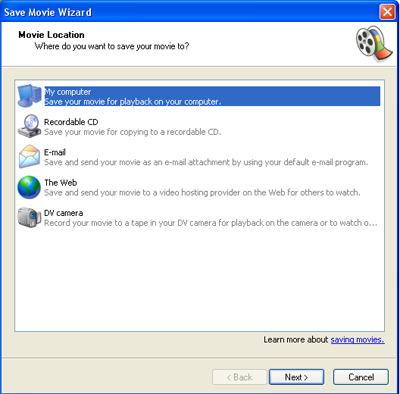
4. When you have finished editing your film files click on File > Save Movie File and select the My Computer option for saving.
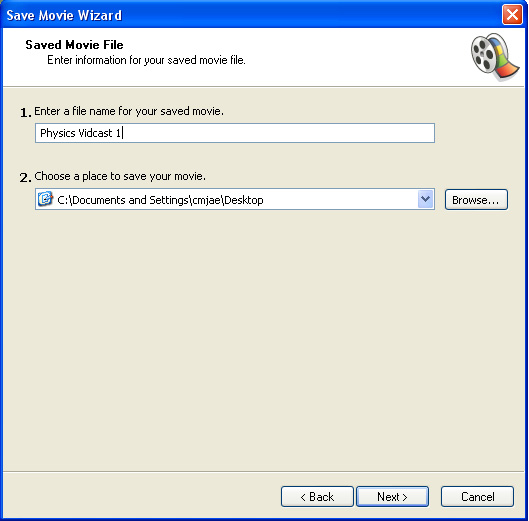
5. Click next and in the dialog box name your movie file, and choose the location to save the file on your computer.
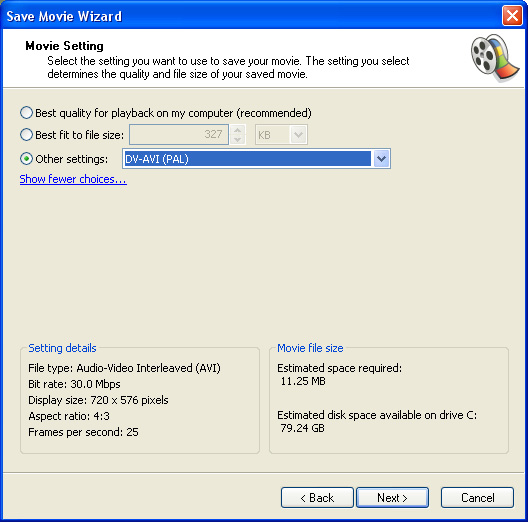
6. Click next and select the Other settings dial button. From the drop down menu choose DV-AVI (PAL) and click next to render the file.
7. Your movie file is now ready to be authored to disc using your DVD video burning software.
Alternative free DVD burning software:
- DVD Styler
- DVD Flick
- Video DVD Maker (Free)
thanks
Related Posts


About The Author
AYYU
I am a blogger since 2010 and I’m the author of this website I'm a systems/network administrator and I enjoy solving complex problems and learning as much as I can about new technologies. I write tutorials based on my work experience and other IT stuff I find interesting. since 2006 in online world also I am a troubleshooter for the well-known website like http://www.fixya.com and many more groups
Exactly how do you obtain varying blog pages on Blog writer with keyword phrase or seek out?