
Enable remote desktop in server 2012
In this part I will discuss about the below topics:
- Enabling Remote Desktop
- Switching installation mode
- Minimal server interface
- Add/Remove feature in offline images
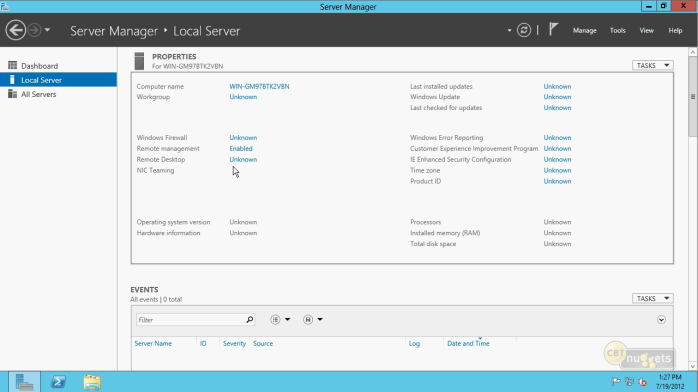
How to enable Remote Desktop in Windows Server 2012
To connect remotely to your WIN 2012 Server you have to enable Remote Desktop connection and the process of enabling is bit different from other Windows Server OS version.
- Go to Server Manager
- Click on Local Server from left side of the Server Manager window
- Click on the link near to Remote deskto
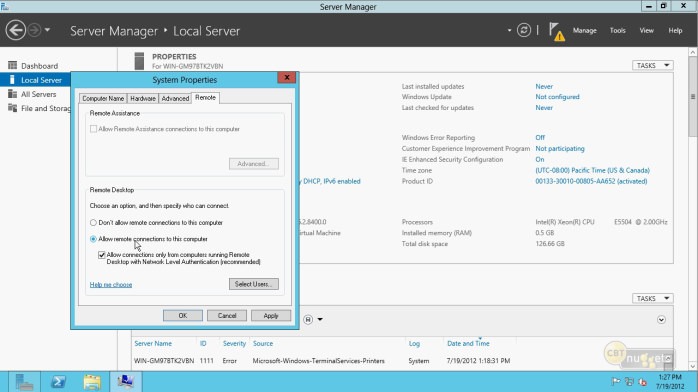
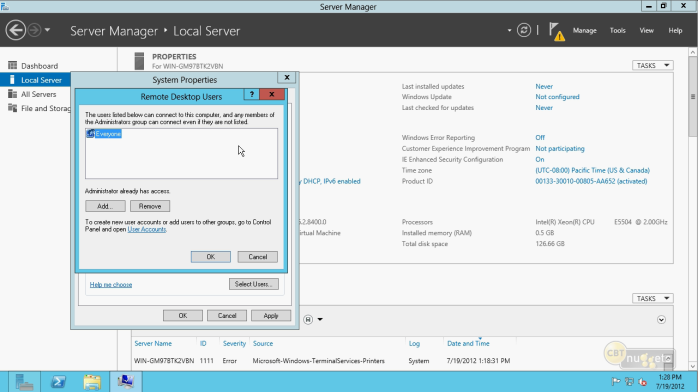
- Select Allow remote connection to this computer option and check the Allow connection only… check box. It is not recommended to allow Everyone rather only Administrator should have the access for remote connection. You can modify this by clicking Select Users button
To enable remote desktop in Server Core
From command go to c:\winodows\system32
Run the below command to check if RDC is enabled or not
cscript scregedit.wsf /AR /v
1= Disabled
0= Enabled
To enable RDC run
cscript scregedit.wsf /ar 0
Switching installation mode
You can switch from Core to GUI or the other way around.
To switch from Core to GUI
- From command prompt write powershell and press enter
- Write Import-Module ServerManager and press enter
- Write Install-windowsfeature server-gui-mgmt-infra, server-gui-shell -Restart
To switch from GUI to core
Execute the below powershell command
uninstall-WindowsFeature server-gui-mgmt-infra, server-gui-shell –Restart
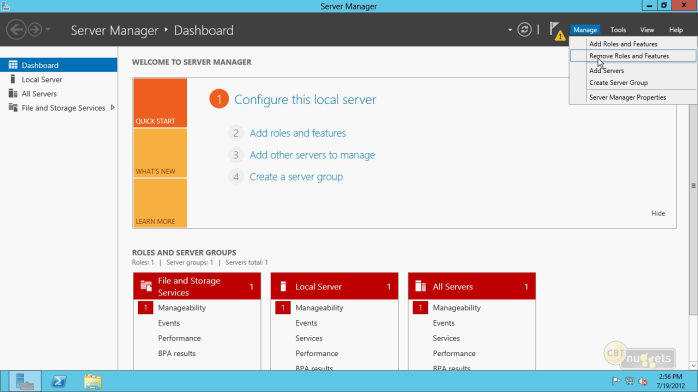
You can also do this by using Server Manager in GUI mode.
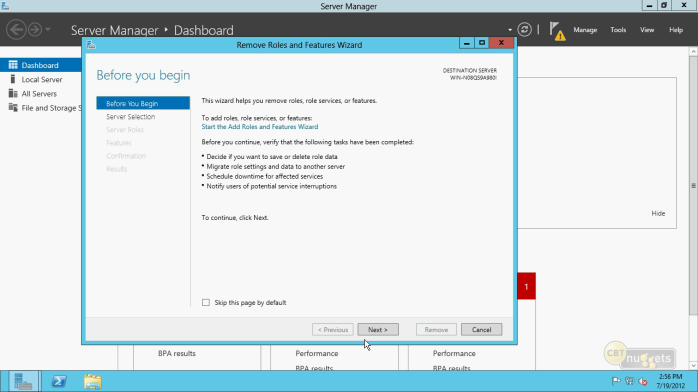
- Open Server Manager and Click on Remove Roles and Features
- Click Next
- Select the Server and click Next
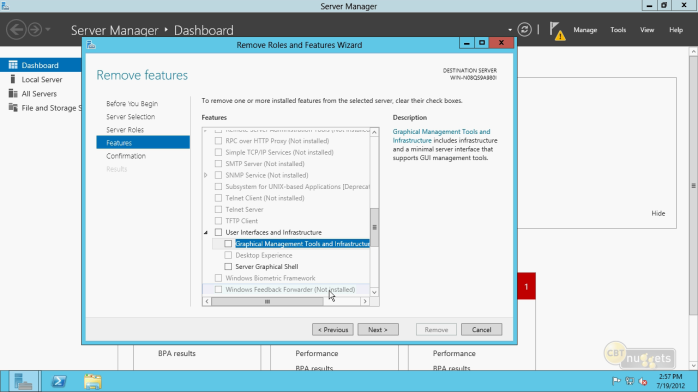
- From Features expand User Interfaces and Infrastructure option
- Uncheck Graphical Management Tools and Infrastructure and Server Graphical Shell
- A new dialog box will appear click on Remove features
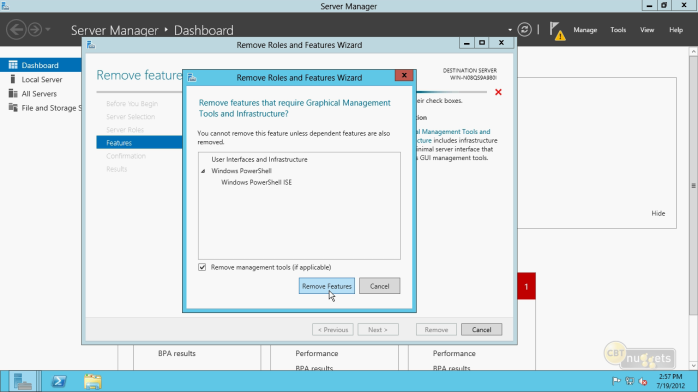
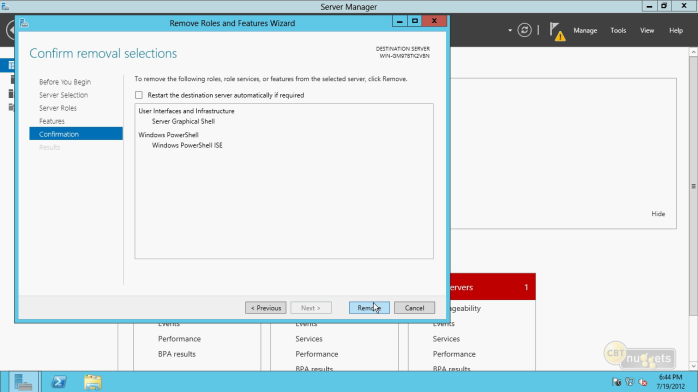
- Click Next and Remove
Minimal Server Interface
The Minimal Server interface is the compromise between Core and Full installation.
It has removed:
- Desktop
- Start Screen
- Windows Explorer
- IE
And still Have
- Server Manager
- MMC, Snap-ins
- Subset of control panel
To switch from Full GUI mode to Minimal Server interface
- Open Server Manager
- From Manage menu click Remove Roles and Features
- Uncheck Server Graphical Shell and Windows PowerShell ISE
- Click Next and Remove
Add/Remove feature in offline images
You can add/remove feature from your VHDX files without running that virtual machine. The VM has to be offline before performing this operation.
- From the Server Manager click on Add Roles and Features
- Click on Select a Virtual Hard disk option
- Click on Browse and select the VHDX file
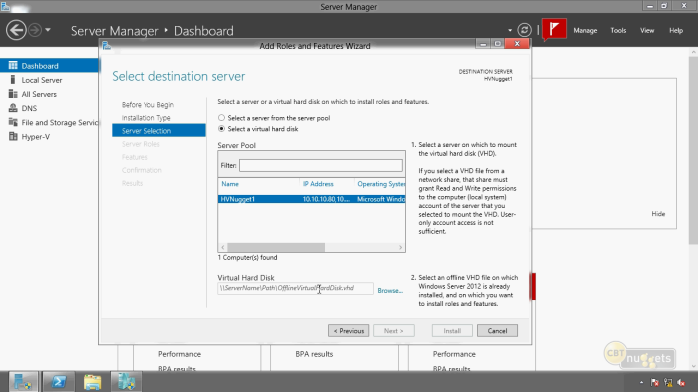
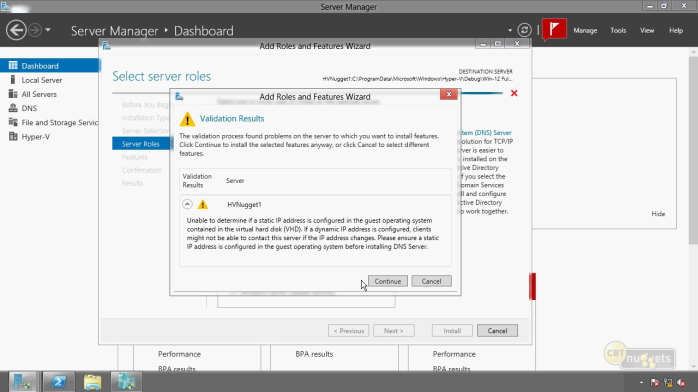
- Select the feature/role you want to install. Click continue and click on Install button
From PowerShell
- Open PowerShell
- To install any feature at first enter get-windowsfeature command to know the actual feature name
For example to install dns feature execute the below PowerShell command
install-windowsfeature dns -vhd “C:\MYDM.dhdx”
Here dns is the feature name
Thanks, If you like this tutorial please share this article to your friends in FB, Twitter.
Related Posts


About The Author
AYYU
I am a blogger since 2010 and I’m the author of this website I'm a systems/network administrator and I enjoy solving complex problems and learning as much as I can about new technologies. I write tutorials based on my work experience and other IT stuff I find interesting. since 2006 in online world also I am a troubleshooter for the well-known website like http://www.fixya.com and many more groups