
Get Rid of Annoying Ads On Your Android Phone
When you download certain Android apps from the Google Play app store, they sometimes push annoying ads to your smartphone. There two or more way to get rid of annoying Ads on your Android phone. Just visit Google play store.
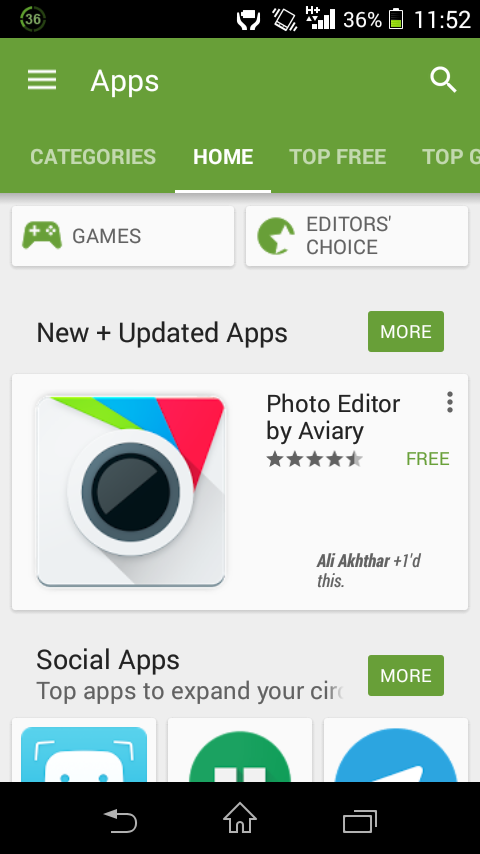
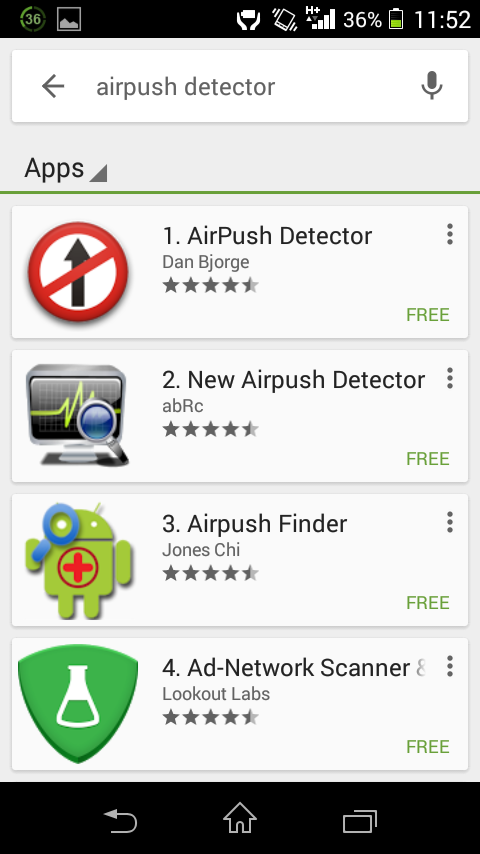
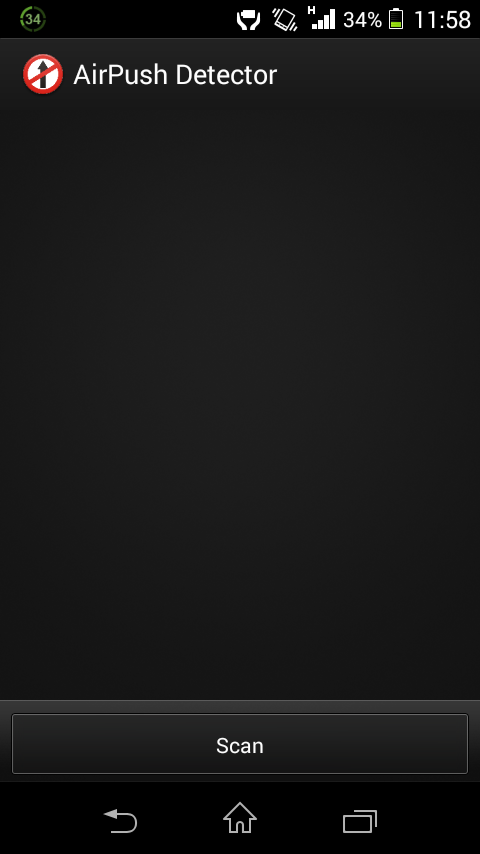
The First way to detect the issue is to download free app called AirPush Detector.
After downloading AirPush Detector scans your phone to see which apps appear to use notification ad frameworks.
From there, you can easily uninstall the ad-supported apps using AirPush Detector.
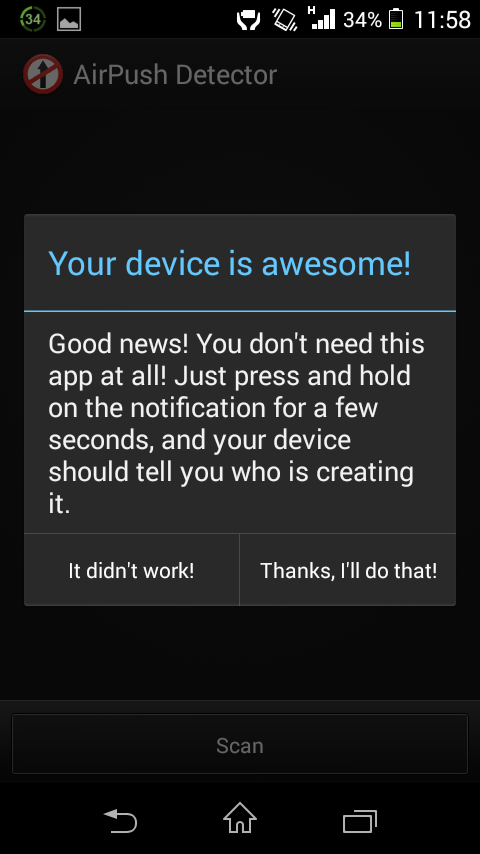
The app can’t block ads, but it can at least alert you to which ones are showing you them.
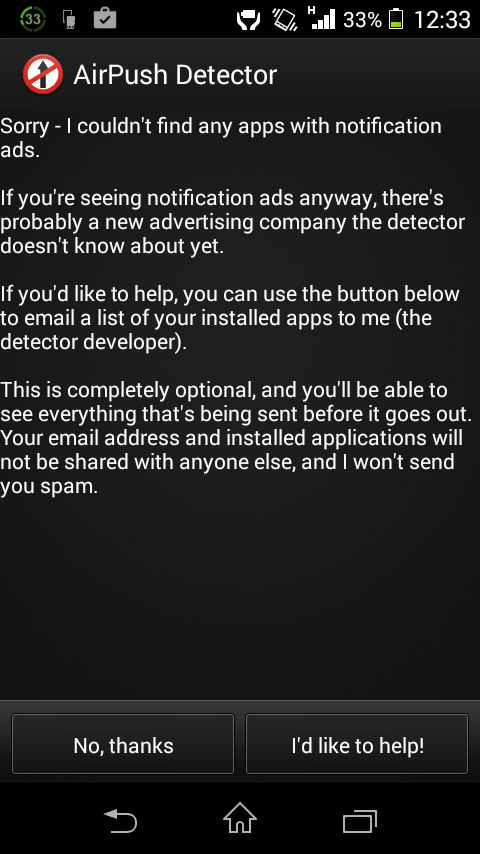
Sorry My phone there are no apps with notification Ads.
Now for the trick.
After you’ve detected and deleted the apps are responsible for the ads, head to the Google Play Store.
- Once inside the Play Store, tap on Settings.
- Inside Settings, uncheck “Google AdMob Ads” and this will ensure that you will no longer receive targeted ads from Google.
The Second way Ads are a necessary part of any blog or website and if the free service you use relies on ad revenue then it’s going to hurt them. Few ads are acceptable but some websites put dozens of intrusive ads which is not of any use. You might have come through various websites which forcefully fill your tabs with unwanted popups. If you’re irritated with those ads then I have an easy solution for you.
There are many – many ad blockers available for desktop browsers and I have already shared you a tweak to block ads on your PC. In this post I will tell you how to get rid of ads on our Android phone.
Note: We will use popular adblocker Adblock Plus available for PC on our smartphone.
- Go to this link and download the APK file.
- After downloading the app, install it on your phone.
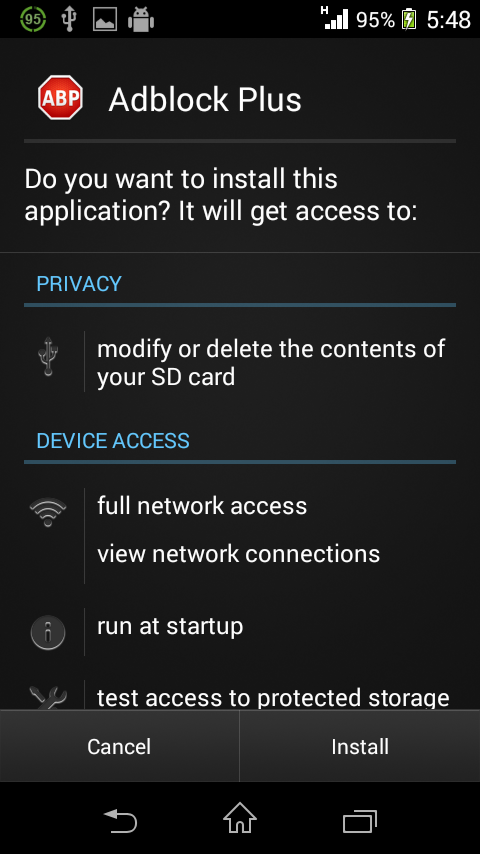
- It will ask you for superuser permission (if your phone is rooted).
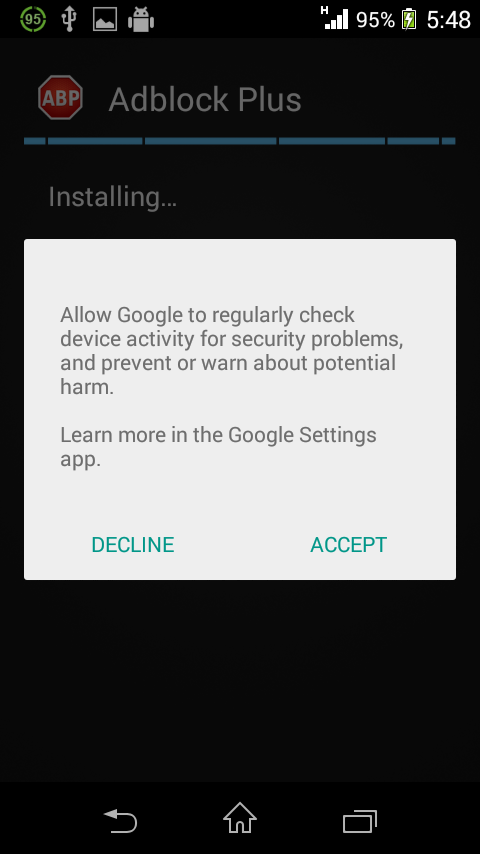
- Done.
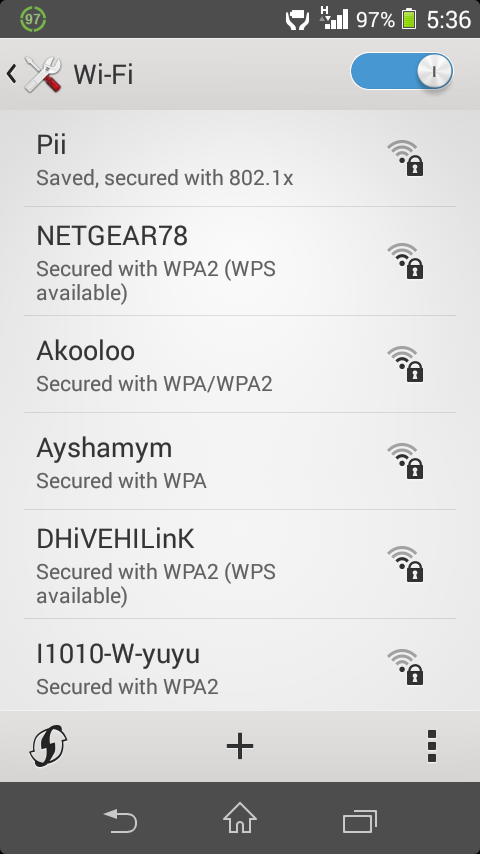
- Go to Settings > Wi-Fi > Turn on Wi-Fi.
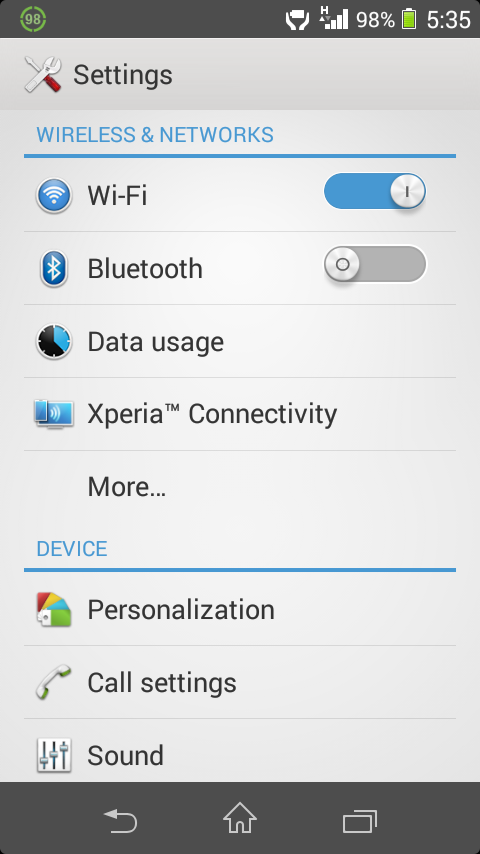
- It will now show the list of available networks. Connect to the network you use to access the Internet.
- Now, long press on the connected network to modify network.
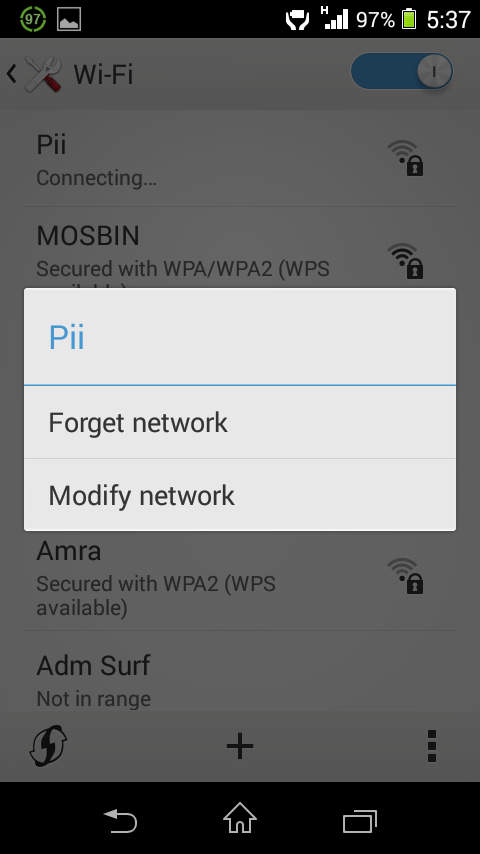
- Choose Modify Network Config when context menu appears.
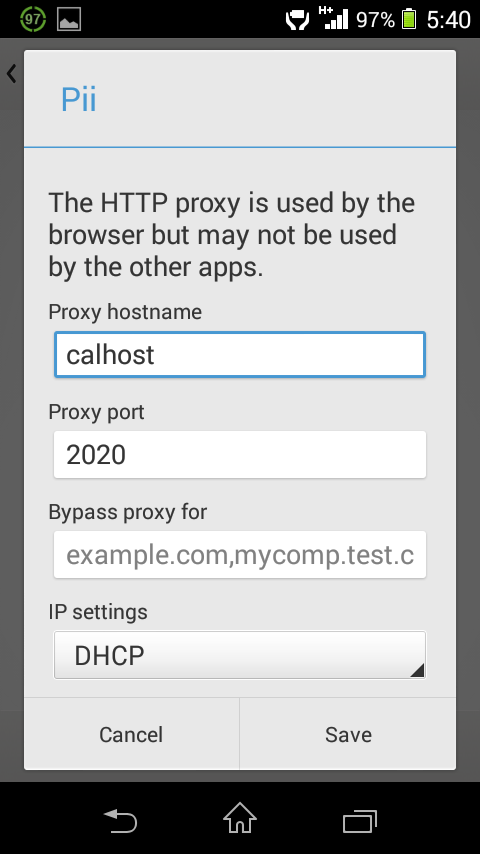
- Save
Open any website and check if it is working. If you receive lots of notifications from Adblock Plus then hide the notification for this app from the Application Manager. To hide the notification, go to Settings > Application Manager
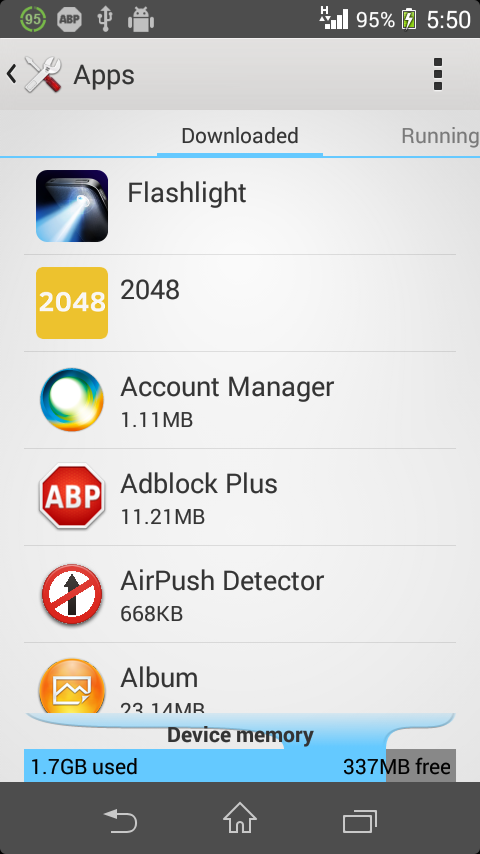
Adblock Plus.
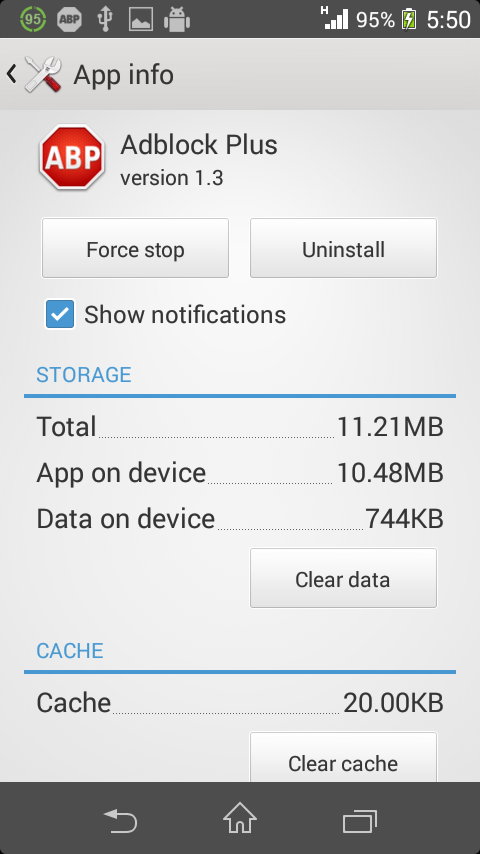
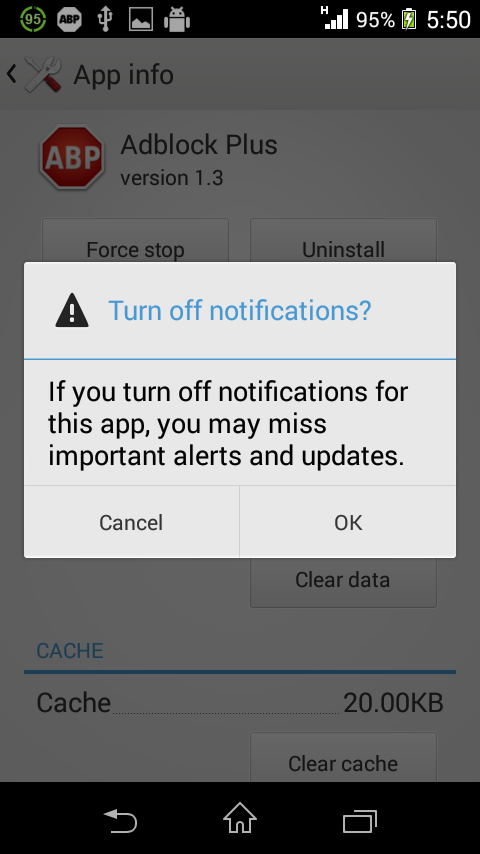
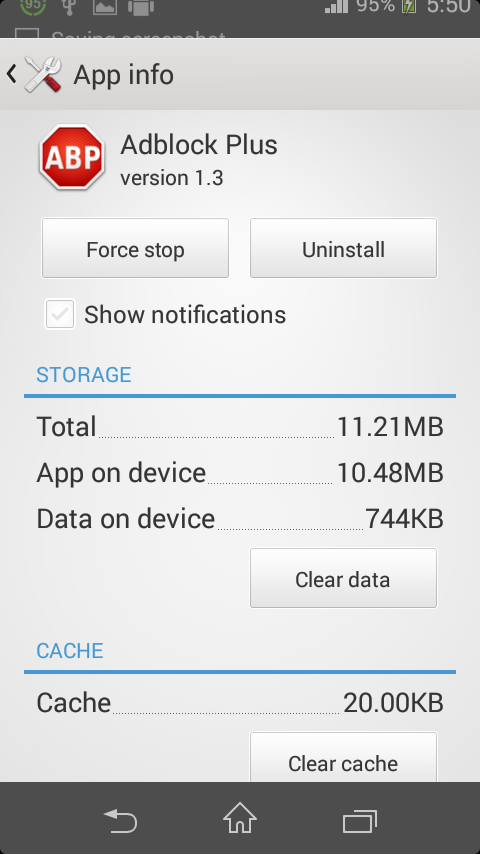
Uncheck the “Show notifications” option.
That’s All! Enjoy non-intrusive on your Android phone again! If you’re getting trouble understanding the above steps then feel free to ask in the comments. or mail us
Thanks, If you like this tutorial please share this article to your friends in FB, Twitter,
Related Posts

About The Author
AYYU
I am a blogger since 2010 and I’m the author of this website I'm a systems/network administrator and I enjoy solving complex problems and learning as much as I can about new technologies. I write tutorials based on my work experience and other IT stuff I find interesting. since 2006 in online world also I am a troubleshooter for the well-known website like http://www.fixya.com and many more groups