Windows Server 2008 provides a solution to this security problem: Terminal Services Gateway. Using a Terminal Services Gateway, you can pre-authenticate users and control what Terminal Servers users can access based on credentials and policy. This gives you the fine grained control you need to insure that you have a secure remote access RDP solution.
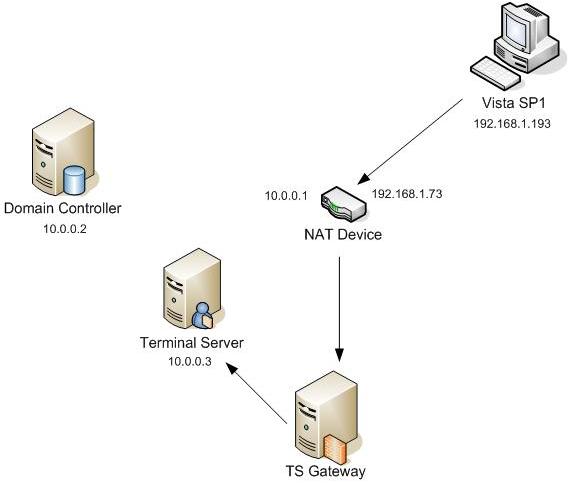
In this two part series on how to put together a working Terminal Services Gateway solution, we will use the lab network you see in the figure below. The arrows show the flow of communications from the external RDP client to the Terminal Server.
Each of the servers in this scenario are running Windows Server 2008 Enterprise Edition.
In this example network, I am using the Windows Server 2008 NAT server as my Internet gateway. You could use any other simple NAT device or packet filtering router, like a PIX, or even an advanced firewall like the Microsoft ISA Firewall. The key configuration option here is that you forward TCP port 443 connections to the Terminal Service Gateway computer.
The Domain Controller has DNS, DHCP, Certificate Services in Enterprise CA mode, and WINS installed.
The Terminal Server has only the base operating system installed. We will install other services during the course of this article series.
The TS Gateway has only the base operating system installed. We will install other services during the course of this article series.
In this article series I will describe the following processes and procedures that you need to perform to get the basic solution running:
The first step is to install Terminal Services on the Terminal Services computer.
Perform the following steps to install Terminal Services and Terminal Services Licensing
3. Click Next on the Before You Begin page.
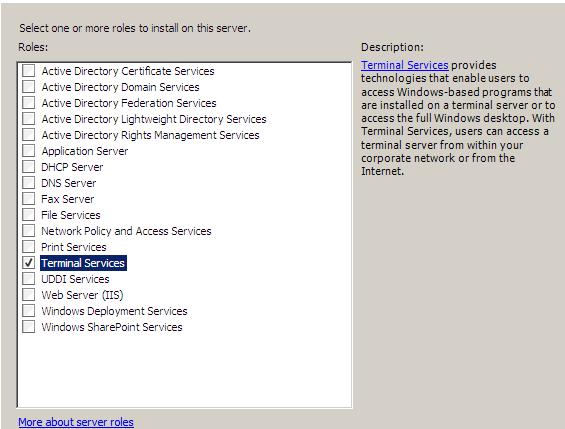
4. On the Select Server Roles page, put a checkmark in the Terminal Services checkbox. Click Next.
5. Click Next on the Terminal Services page.
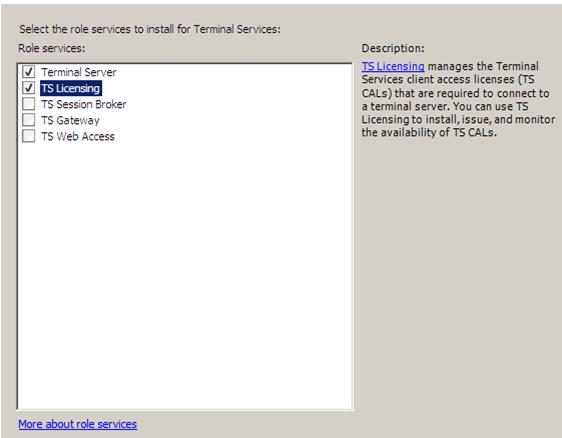
6. On the Select Role Services page, put a checkmark in the Terminal Server and TS Licensing check boxes. Click Next.
7 Click Next on the Uninstall and Reinstall Application for Compatibility page.
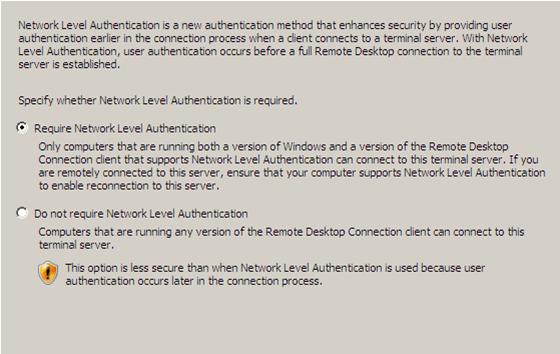
8. On the Specify Authentication Method for Terminal Server page, select the Require Network Level Authentication. We can select this option in our current scenario because we are using only Vista SP1 clients to connect to the Terminal Server through the TS Gateway. We would not be able to use this option if we needed to support Windows XP SP2 clients. However, you should be able to support Network Level Authentication with Windows XP SP3. However, I have not yet confirmed this, so make sure to check the release notes on Windows XP SP3 when it is released later this year. Click Next.
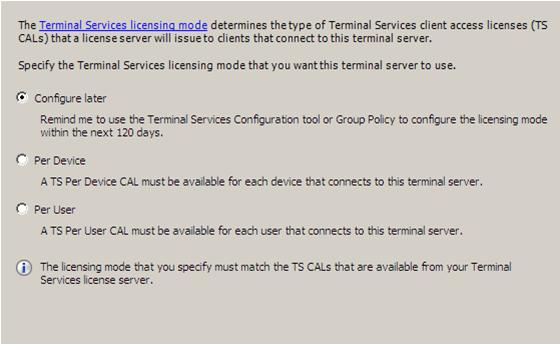
9. On the Specify Licensing Mode page, select the Configure later option. We could select an option now, but I decided that we should select Configure later so that I can show you where in the Terminal Services console you configure the licensing mode. Click Next.
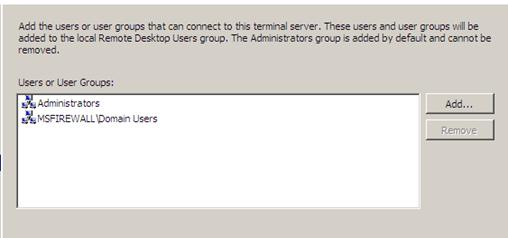
10. On the Select Use Groups Allowed Access To This Terminal Server page, use the default options. You can add or remove groups if you want finer tuned access control over the Terminal Server. However, if all of your users will be going through the Terminal Services Gateway, then you can control who can connect to the Terminal Server using the TS Gateway policy settings. Leave the default settings as they are and click Next.
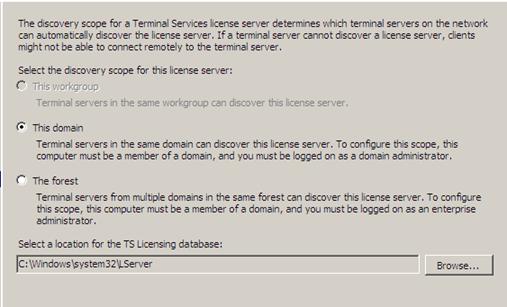
11. On the Configure Discovery Scope for TS Licensing page, select the This domain option. We select this option in this scenario because we only have a single domain. If you have a multi-domain forest, you might consider selecting the The forest option. Click Next.
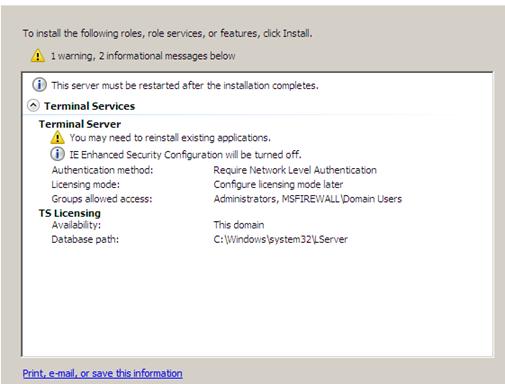
12. On the Confirm Installation Selections page, check the warning information indicating that you might have to reinstall applications that were already installed on this machine if you want them to work properly in a Terminal Services session environment. Also note that IE Enhanced Security Configuration will be turned off. Click Install.
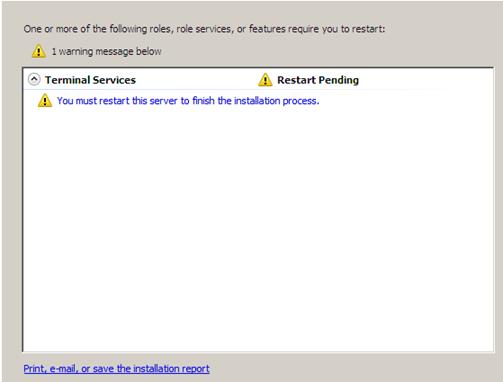
13. On the Installation Results page, you will see a warning that you must restart the server to complete the installation. Click Close.
14. Click Yes in the Add Roles Wizard dialog box that asks if you want to restart the server.
15. Log on as Administrator. The installation will continue for a few minutes as the Installation Progress page appears after the Server Manager comes up.
16. Click Close on the Installation Results page after you see the Installation succeeded message.
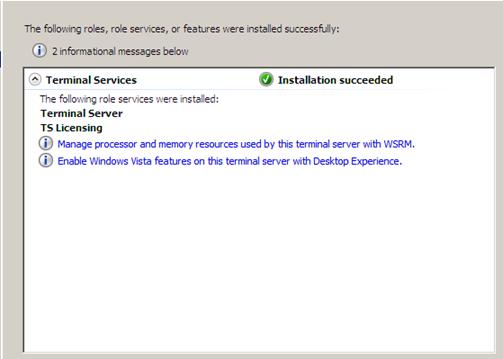
17. You may see a balloon telling you that Terminal Services licensing mode is not configured. You can dismiss that warning, as we will next configure Terminal Services Licensing and then configure the licensing mode on the Terminal Server.

Configure Terminal Services Licensing
At the point we are ready to configure Terminal Services Licensing. In this example I will use some dummy data, which does not meet the actual requirements for licensing Terminal Services client connections, but it will provide an example of how the process works. Please do not use the same procedure that I show here to license your Terminal Services clients, because you will not be compliant with actual licensing requirements.
Perform the following steps to activate your Terminal Services Licensing Server:
01. From the Administrative Tools menu, click the Terminal Services menu and then click on TS Licensing Manager.
02. In the
TS Licensing Manager console, right click the server name in the left pane of the console. Click on
Activate Server.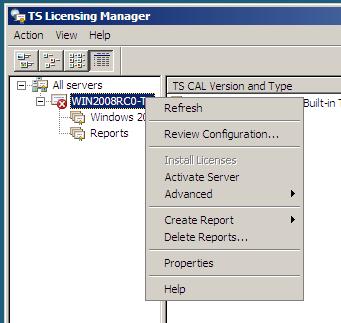
03. Click Next on the Welcome to the Activate Server Wizard page.
04. On the
Connection Method page, select the
Automatic Connection (recommended) option. Click
Next.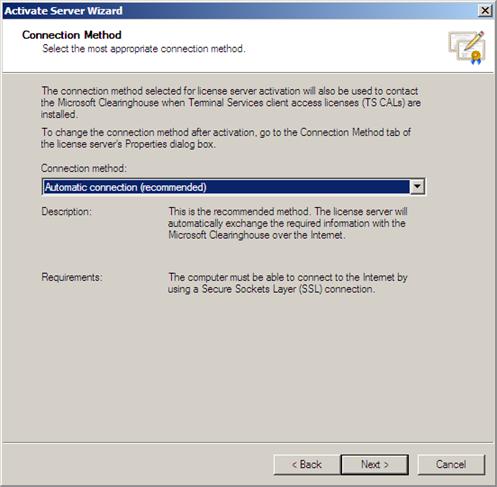
5. On the Company Information page, enter your company information and click Next.
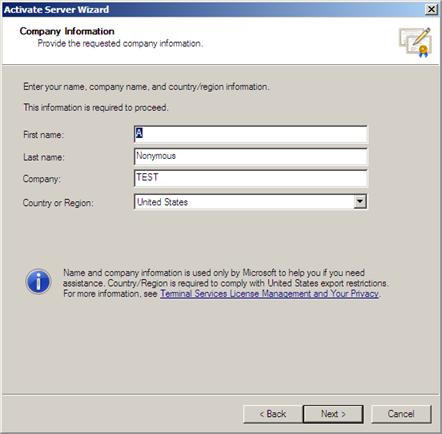
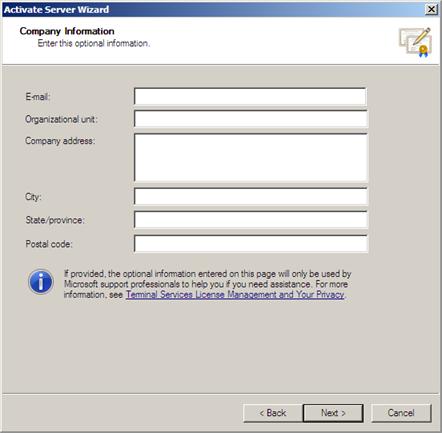
6. Enter optional information if you like on the Company Information page. Click Next.
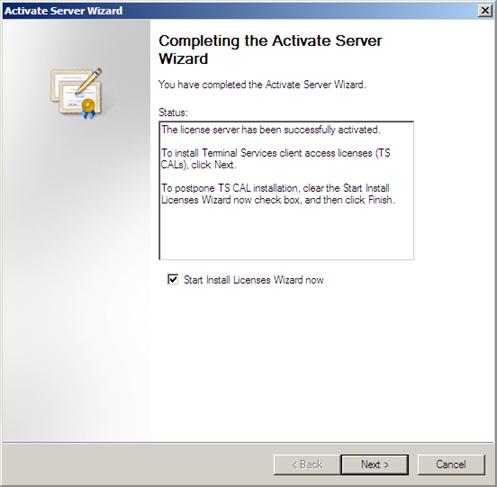
7. On the Completing the Activate Server Wizard page, make sure that the Start Install Licenses Wizard now option is checked. Click Next.
8. Click Next on the Welcome to the Install Licenses Wizard page.
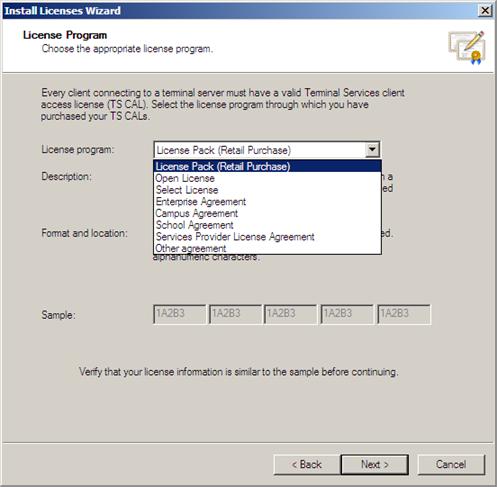
9. On the
License Program page, click the down arrow on the
License program list and pick the license program that you participate in. In this example I will select
Other agreement since this lab is not participating in any license program. Click
Next.
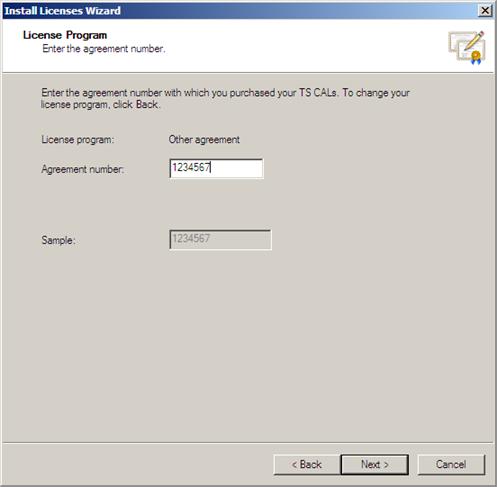
10. On the License Program page, enter your Agreement number. In this example we’ll just enter 1234567. Click Next.
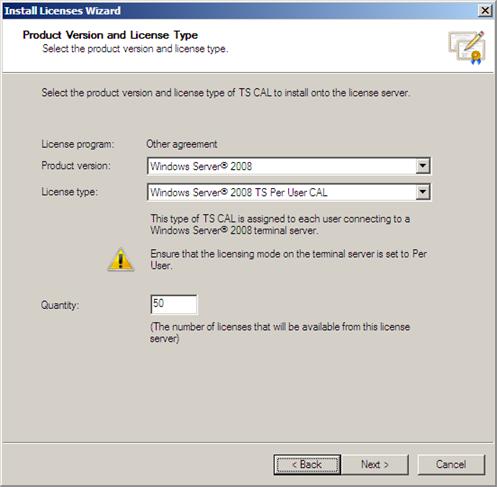
11. On the Product Version and License Type page, select the Product version, License type and Quantity that fits the needs of your environment. In this lab setup, we are using Windows Server 2008 Terminal Servers, so we will select Windows Server 2008. We will use per user CALs in this example network, so we will select Windows Server 2008 TS Per User CAL. And we will enter 50 in the Quantity text box. Click Next.
12. Click Finish on the Completing the Install Licenses Wizard page.
Install Desktop Experience on the Terminal Server (optional)When Windows Vista clients connect to a Windows Server 2008 Terminal Server, they can have a Vista-like desktop experience in the Terminal Services session if you install the Desktop Experience option on the Terminal Server.
Perform the following steps to install the Desktop Experience Feature to the Terminal Server:
1. On the
Select Features page, put a checkmark in the
Desktop Experience checkbox. Click
Next.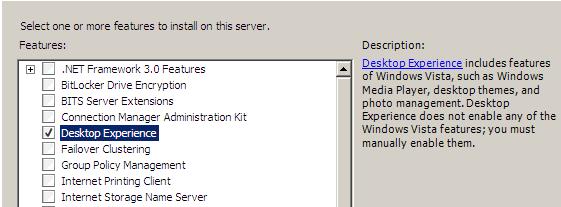
2. Click Install on the Confirm Installation Selections page.
3. On the Installation Results page, read the warning information that you must restart the computer to finish the installation process. Click Close.
4. Click Yes in the dialog box asking if you want to restart now.
5. Log on as administrator. Installation will resume and take a few minutes, so be patient.
6. Click Close on the Installation Results page, which shows that the installation was successful.
Configure the Terminal Services Licensing ModeWe will now finish up with configuring the Terminal Server by setting the Terminal Services Licensing Mode. Perform the following steps to configure the Terminal Services Licensing Mode:
1. From the Administrative Tools menu, click the Terminal Services entry and then click Terminal Services Configuration.
2. In the middle pane of the
Terminal Services Configuration console, double click
Terminal Services Licensing mode.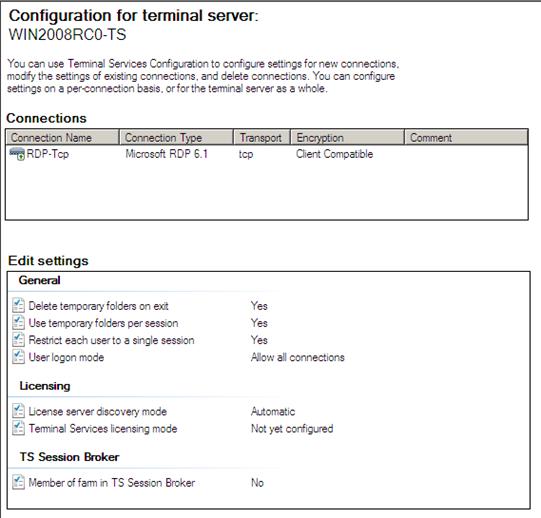
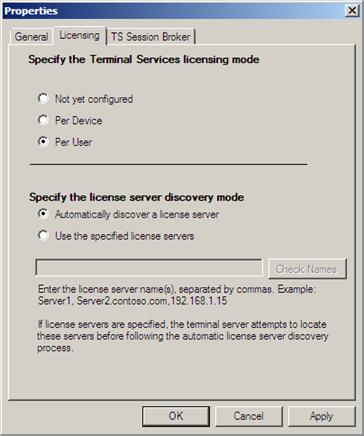
3. In the Properties dialog box, select the Per User option for the Specify the Terminal Services licensing mode option. Select Automatically discover license server for the Specify the license server discovery mode option. Click OK.
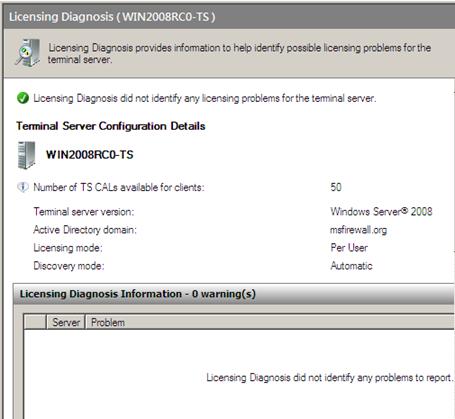
4. Click the Licensing Diagnosis node in the left pane of the console. In the middle pane you will see details for the licensing configuration for this Terminal Server.
5. Close the Terminal Service Configuration console.


Just what is one way to seek for personal blogs you are looking at?